Azure App Registration:
1. Log in to the Azure Portal (https://portal.azure.com/)
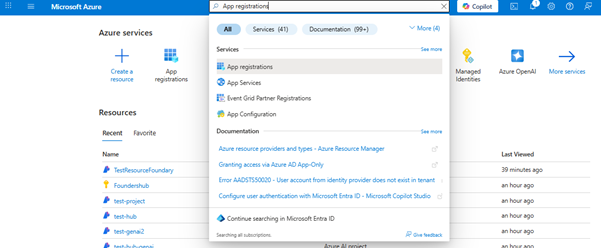
2. Search for 'App registrations' and open the service.
3. Click "New registration".

4. Enter the application details:
Name: Test-app-registration
Supported account types: Select the preferred account type based on your requirements.
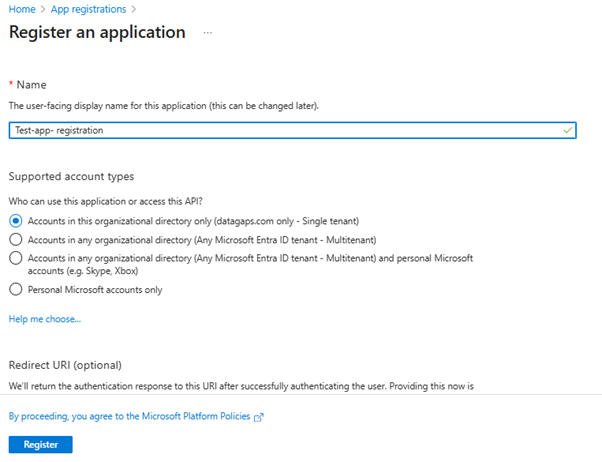
Click "Register".
5. Once the app is created, note the following details from the Overview page:
Client ID
Tenant ID

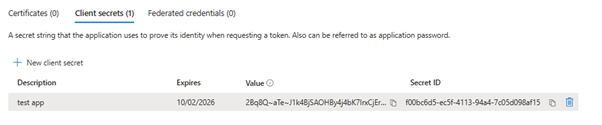
6. To Create a Client Secret:
Click on ‘Add a certificate or secret’

Click ‘New client secret’.

Add a Description and select an Expiry period.

Click "Add".
Copy the Value immediately, this is your Secret ID (it will be hidden later).
Configuring DataOps Suite Application:
1. Log in to the DataOps Suite application.
2. Navigate to:
- Configure → Integration → AI Integration.
3. Select Provider:
- Choose your preferred provider: Azure OpenAI.
4. Select Type:
- Service Principal.
5. Fill in the required details:
- Client ID: From Azure App Registration. (Refer SS number 1)
- Tenant ID: From Azure App Registration. (Refer SS number 1)
- Secret Key: Client secret value from Azure App Registration. (Refer SS number 1)
- Subscription ID: Your Azure subscription ID.
- Resource Group Name: Name of your Azure resource group.
- Project Name: Your Azure AI Foundry project name.
- Endpoint: Get this from Azure AI Foundry. (to get endpoint verify the last page of doc)
6. Configuration
- Deployment Name: Enter the name of your deployed AI model.
Example: gpt-4o1 - Agent URL: Enter the host and port where the DataOps Suite agent is running.
Example: http://172.16.8.29:8085
Screenshot for Client ID, Tenant ID and Secret Key: (SS Number 1)

Screenshot of DataOps suite application: (SS number 1)
Getting the Endpoint from Azure AI Foundry:
- In the Azure Portal, search for and open Azure AI Foundry.
- Click "Go to Azure AI Foundry portal".

3.In the Overview section, locate Azure AI Foundry Project Endpoint and copy it.

4. Paste this value into the Endpoint field in DataOps Suite.